Snaptrude Exports to Revit

What's in this blog.
- Introduction
- Walls
- Slabs, plinth and Flooring
- Fenestration
- Staircases
- Storeys and Levels
- Revit format
- How to export to Revit
- What next in Revit export?
Introduction
We’ve released a completely updated export to Revit!
We understand that design and execution of a project happens across various software platforms, each fulfilling the needs of its niche. We aim for Snaptrude to seamlessly integrate with your existing design workflow. To this end, in previous versions, we released various import capabilities, for sketch images, AutoCAD plans, and 3D furniture libraries along with exports to .3ds, .obj and .fbx to integrate with render engines. We are now stepping exports up a notch, with an export directly into Revit! That’s right, you can now export fully detailed conceptual BIM models from Snaptrude to .rvt directly, without any loss of information that would occur in an .ifc export.
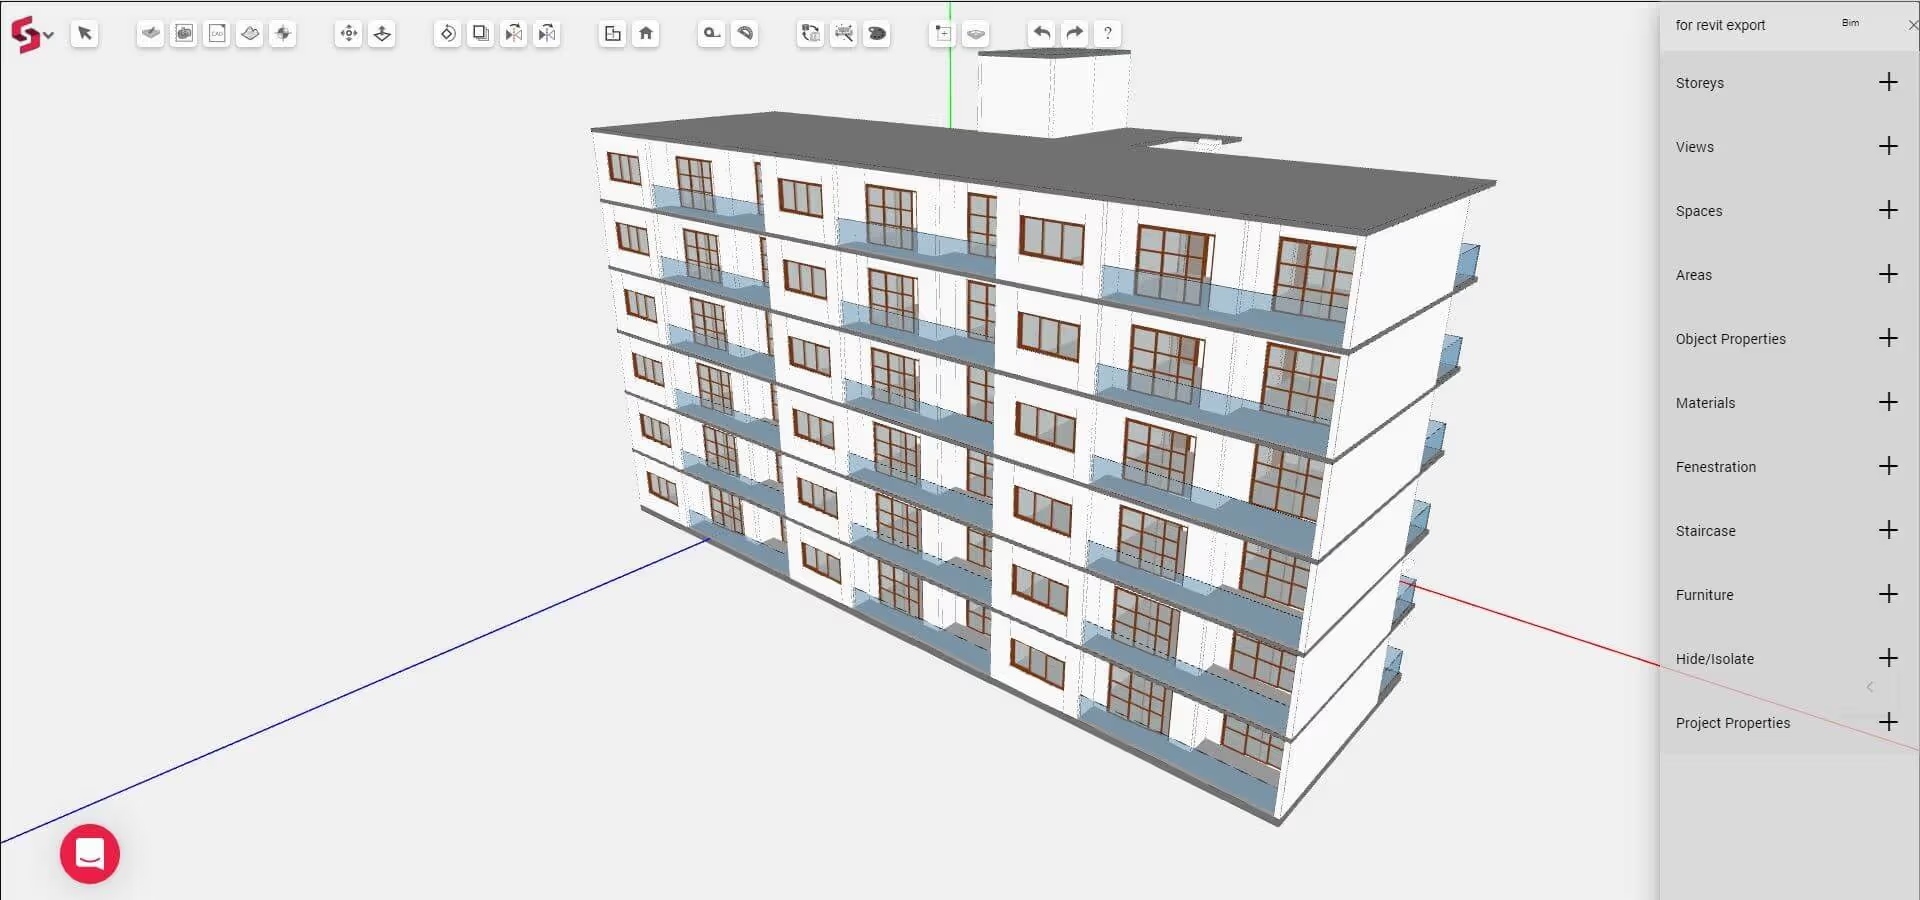
Now you can export any design made on Snaptrude into Autodesk Revit (.rvt file format). All walls, slabs, staircases, flooring, doors and windows (from the built in library) modelled on Snaptrude are recreated in Revit with no loss in detail or accuracy. Unlike a .ifc export, the export in .rvt format means that the model is completely editable in Revit.
Walls
Walls are recreated as families in Revit with the correct Structure thickness, linked to appropriate Levels. They can be further detailed in Revit by adding Layers, and can be moved parametrically.
Major improvements are made in retaining any edits made in Snaptrude. This includes dimensions of copied, rotated, moved, edited walls and walls with doors and windows. Wall dimensions that are auto updated in Snaptrude, like wall height updation on storey height change, and wall thicknesses set from Project Properties are correctly exported in the Revit model. Wall junctions between walls of different thicknesses are also cleaner in the export.
Slabs, plinth and Flooring
Slabs and plinths are recreated as families in Revit with the correct Structure thickness, linked to appropriate Levels as per the Snaptrude model. Slab footprint issues from the previous Revit export version are fixed. Slab footprints are also fully editable. Copied slabs, flipped slabs and slabs whose thickness is changed from Object Properties are now exported correctly.
Flooring is exported for each room individually. Flooring below doors are exported as well.
Fenestration
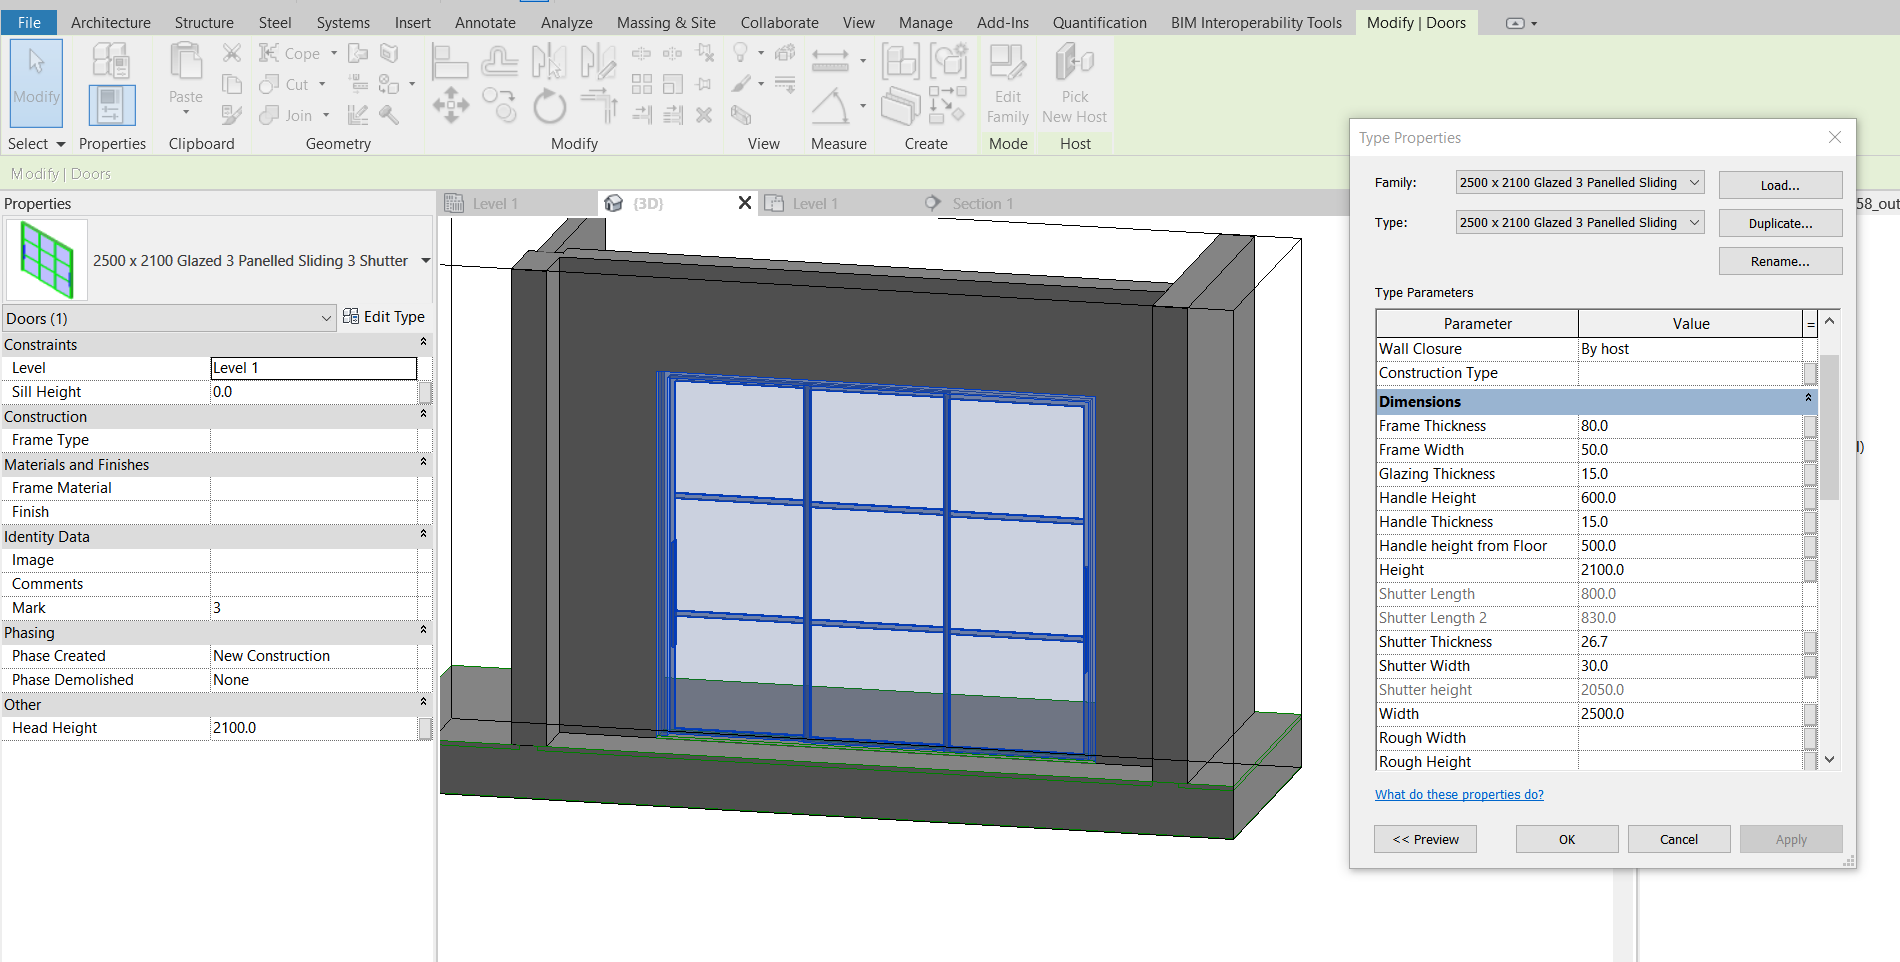
All the doors and windows from the Snaptrude library are exported as families in Revit. Our team built out a full set of detailed parametric families (.rfas) of all the doors and windows in the Snaptrude default library. So the export is as accurate as your Snaptrude model!
You will be able to change the dimensions of the doors and windows in Revit by editing Type Properties. Alternatively, you can even edit the attached .rfa files for further customisation of frames and materials. You will of course also be able to move or copy doors or windows on a wall without having to worry about the cut-outs being left behind.
If you import and use a custom fenestration object in Snaptrude, we place a default door/ window in the Revit export.

Staircases
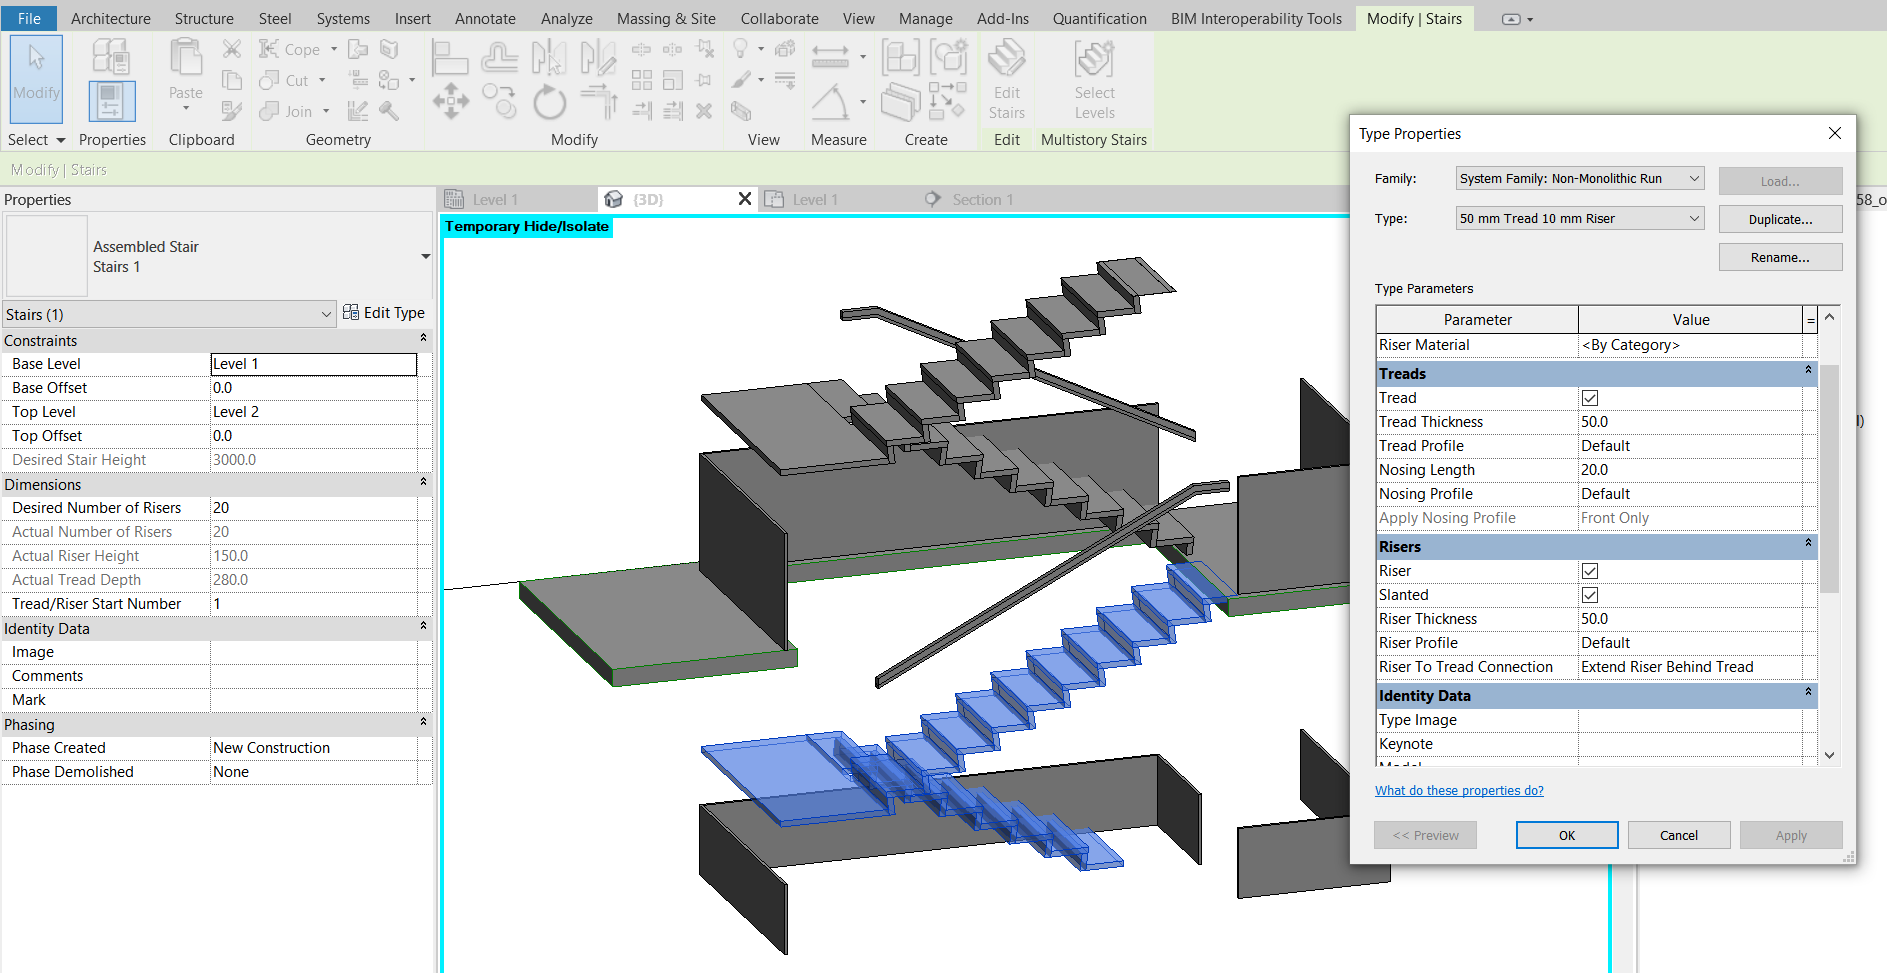
All parametric staircases in your Snaptrude model (from the built in Staircase library) are recreated as Stairs in Revit with no loss in detail or accuracy. You can edit staircase risers and tread further, and even customise the stringer, nosing, rise incline, etc, in Revit.

Storeys and Levels
Levels are created in Revit for each storey in Snaptrude. Walls, slabs and staircases are created using the appropriate levels as references. All parametric changes to wall heights on changing storey height and slab thickness are replicated in the export. Export of basement storeys work correctly as well.
To create floor plans at each level in Revit, go to the Views tab and click on Floor Plans. Select all the Levels and click Ok. Views are created for all the Storeys.
Revit format
We have you covered no matter which version of Revit you are currently using. By default, Snaptrude exports to Revit 2019. This means that the exported model, along with all the door and window families, can be auto upgraded to all newer versions of Revit (Revit 2020 and Revit 2021) as well. Revit export for large files has also been fixed.
How to export to Revit
To export to Revit, click on the Snaptrude icon, and in the dropdown, click on the Export tool. In the export pop-up, select .rvt as the export format and click Export. The export may take between 5 and 30 minutes to start downloading depending on the level of detail and complexity in your model. The exported model will also be emailed to you once ready.
What next in Revit export?
At Snaptrude, we believe in empowering architects to achieve their goals in as efficient a way as possible. Exporting concept design models to a usable BIM is a step in this direction, enabling you to start detailing, co-ordinating and documenting your 3D designs without any data loss or rework.
The next Revit export version will be even more powerful, supporting columns, beams, facade elements like sunshades or pergolas, sloping roofs and sloped walls. We will also be improving export of families of walls, floors, staircases, etc so that the exported families can be customised to your firm’s standards. Get in touch with us to let us know what other data is important to you.


