New Snaptrude Features to Help You Grow in Your Architecture Practice
What’s in this Blog?
- Topographic Map: Now, Build on any Site in the World
- How to use the Site Topographic feature on Snaptrude?
- Set Datum on Sloped Sites
- Solar Studies: Create Climate-Responsive Architecture
- How to use the Sun & Shadow Studies’ feature on Snaptrude?
- Colour Overlay on Materials: Experiment More. Present Better.
- Angle Inputs & Snaps: Control Your Drawing Better
- How to use the Angle Inputs & Snaps’ feature on Snaptrude?
- Orthographic Projections
- Architects Needn’t Compromise
You architects keep inspiring us at Snaptrude, to continue innovating and bettering our already easy-to-use software. Because, we like to keep pace with (and, sometimes outpace ;-)) your thoughts. So, we’re constantly adding new features that can help you design seamlessly and take your entire designing experience up a notch.
Here’s all you need to know about our latest updates that can add value to your design process: new features to help you work seamlessly, improve your environment sustainability practices, enjoy more options of presentation and be more in control of your design.
#1 Topographic Map: Now, Build on any Site in the World
As an architect, the site is where you start thinking. You study the climate, the area and its neighbourhood elements when you conceptualise your design. And, you would ideally want to start creating your design keeping in mind the characteristics of the real site, right from your visualisation stage. With our newly launched Site Topographic feature, now you can.
Bring in any site in the world using just its GPS location, and access real world elevation data, study the neighbourhood, road connectivity and more with our new Mapbox integration. This new feature lets you accurately tailor your design to the real world, and design from scratch on Snaptrude. This gives you a seamless design workflow.
How to use the Site Topographic feature on Snaptrude?
- Click on the Topography button.
- Simply search for the location of your site, zoom into your site, check the Height On, and click Done.
- The site plan will be imported with all the 3D elevational detail.
- It is added as a Layer to Storey 1, and can be hidden at any time.
Note: If you want to import the site without the 3D elevational detail, uncheck the Height box while bringing it in. You can also turn the height map on or off at any point after import, using the Height map toggle.
Watch in action:
How to use Site Topographic feature on Snaptrude
Set Datum on Sloped Sites
Once you start enjoying working with the Topographic Map feature, you will see how working with contoured sites is really easy on Snaptrude. Enjoy precision by using the Set Datum tool. With this tool, you can pick the exact vertical position on the topography where you want to place your building and Storey 1 will be placed at this height.
Watch in action:
How to Set Datum on Sloped Sites on Snaptrude
#2 Solar Studies: Create Climate-Responsive Architecture
Move over traditional sun path diagrams that architects used in early days!
With the increased global concerns about energy consumption in building structures, there has been a higher responsibility on architects to create low or no-energy consumption buildings, at a faster pace. And, with Snaptrude’s Sun and Shadow Studies’ feature, you can design with context specific climate analysis. Snaptrude allows you to simply specify the date and time to study; the solar altitude and azimuth for that period are auto calculated.
Solar studies work as a passive form of sustainability. For instance, it helps in deciding building orientation, which plays the largest role in determining the energy consumption of a building. Also, if you understand the play of sunlight in different seasons, you can decide whether the building geometry can be self shading during summers or to allow in more sunlight during winters. Architects also benefit from the study of sun and shadows while designing courtyards, terraces and climate responsive open spaces. And, when it comes to envelope design; proportion of windows or design of curtain walls on each orientation and the level of sun shading required in that orientation, this feature comes especially handy.
This important feature enables you to design your structure with a lot more thought. For example, if you are designing an office space, you need to understand how deep into the structure you can place workstations for maximised daylighting (i.e. minimal artificial lighting and glare) while maintaining the efficiency of the floor plate. With the help of Sun and Shadow studies, you can make accurate analysis to make decisions in your design.
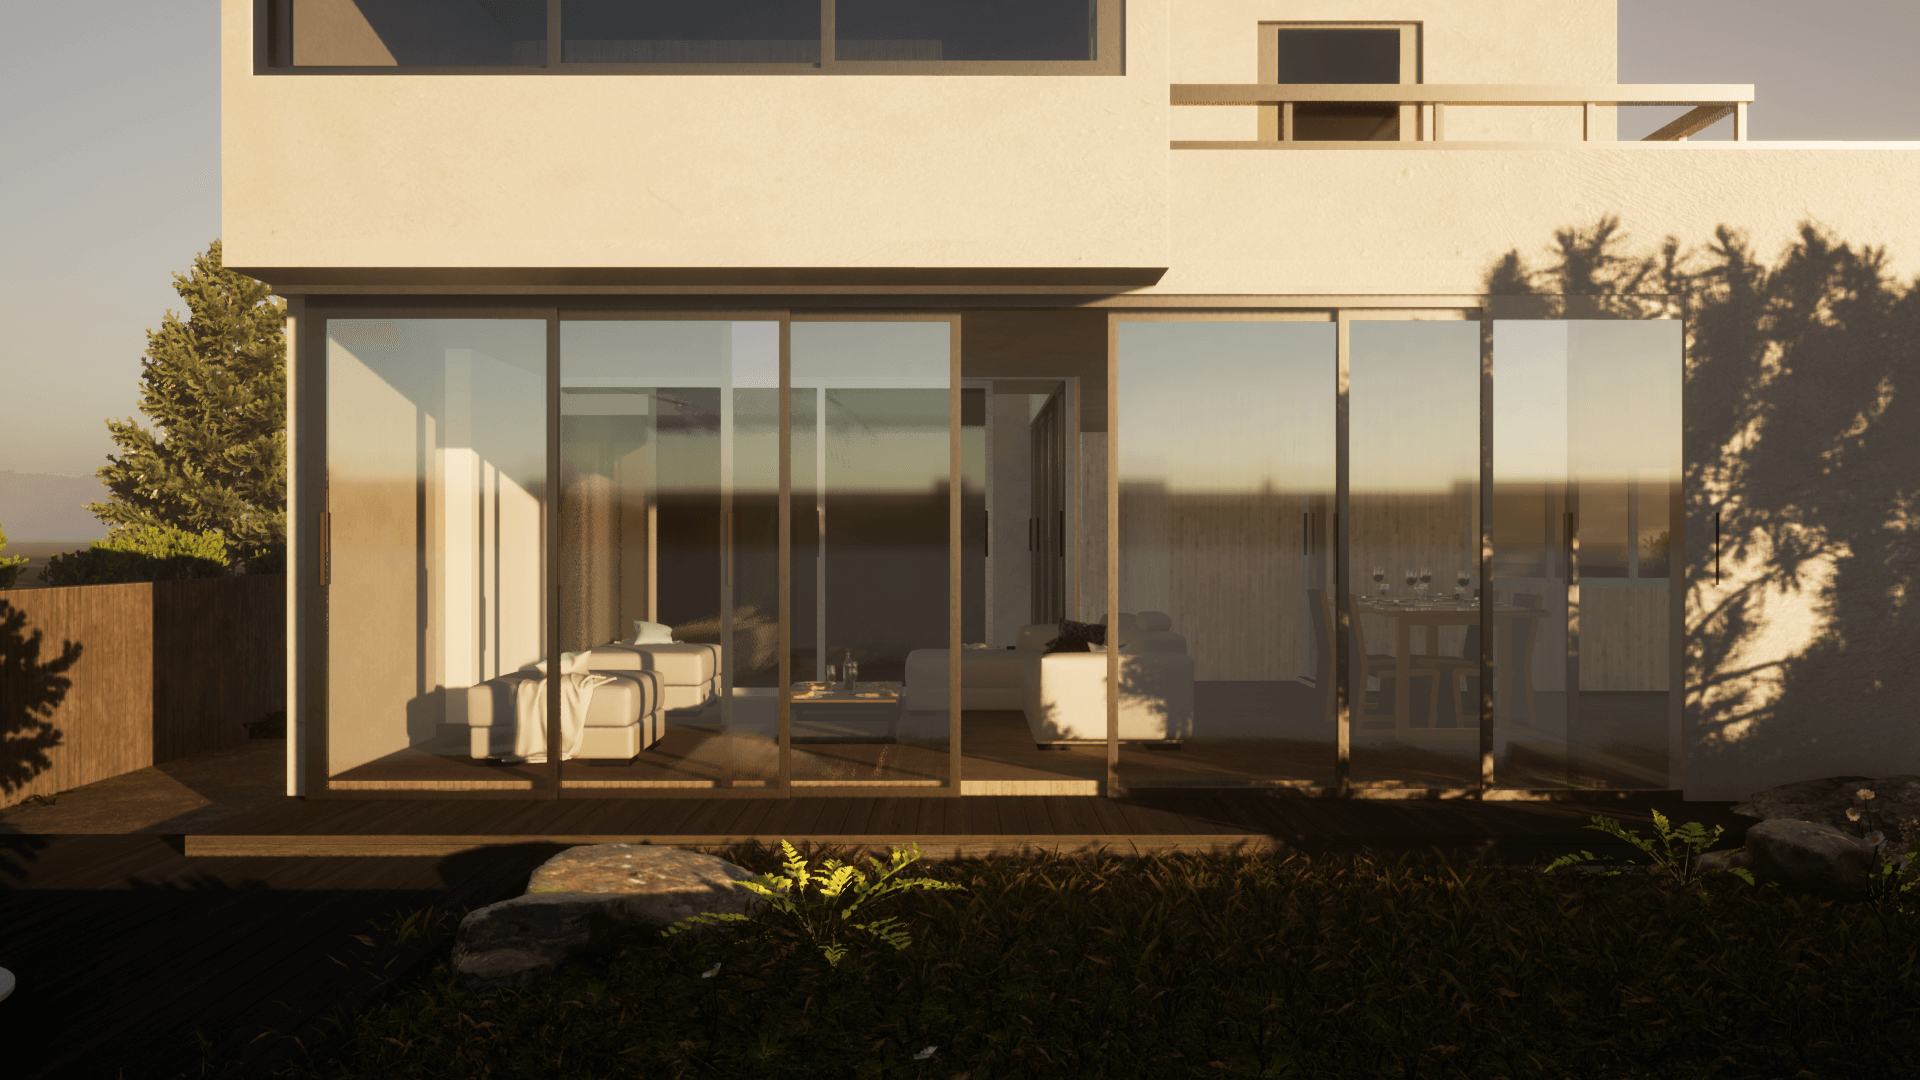
What’s more, using shadows can help you make beautiful visuals and graphics for more realistic client presentations
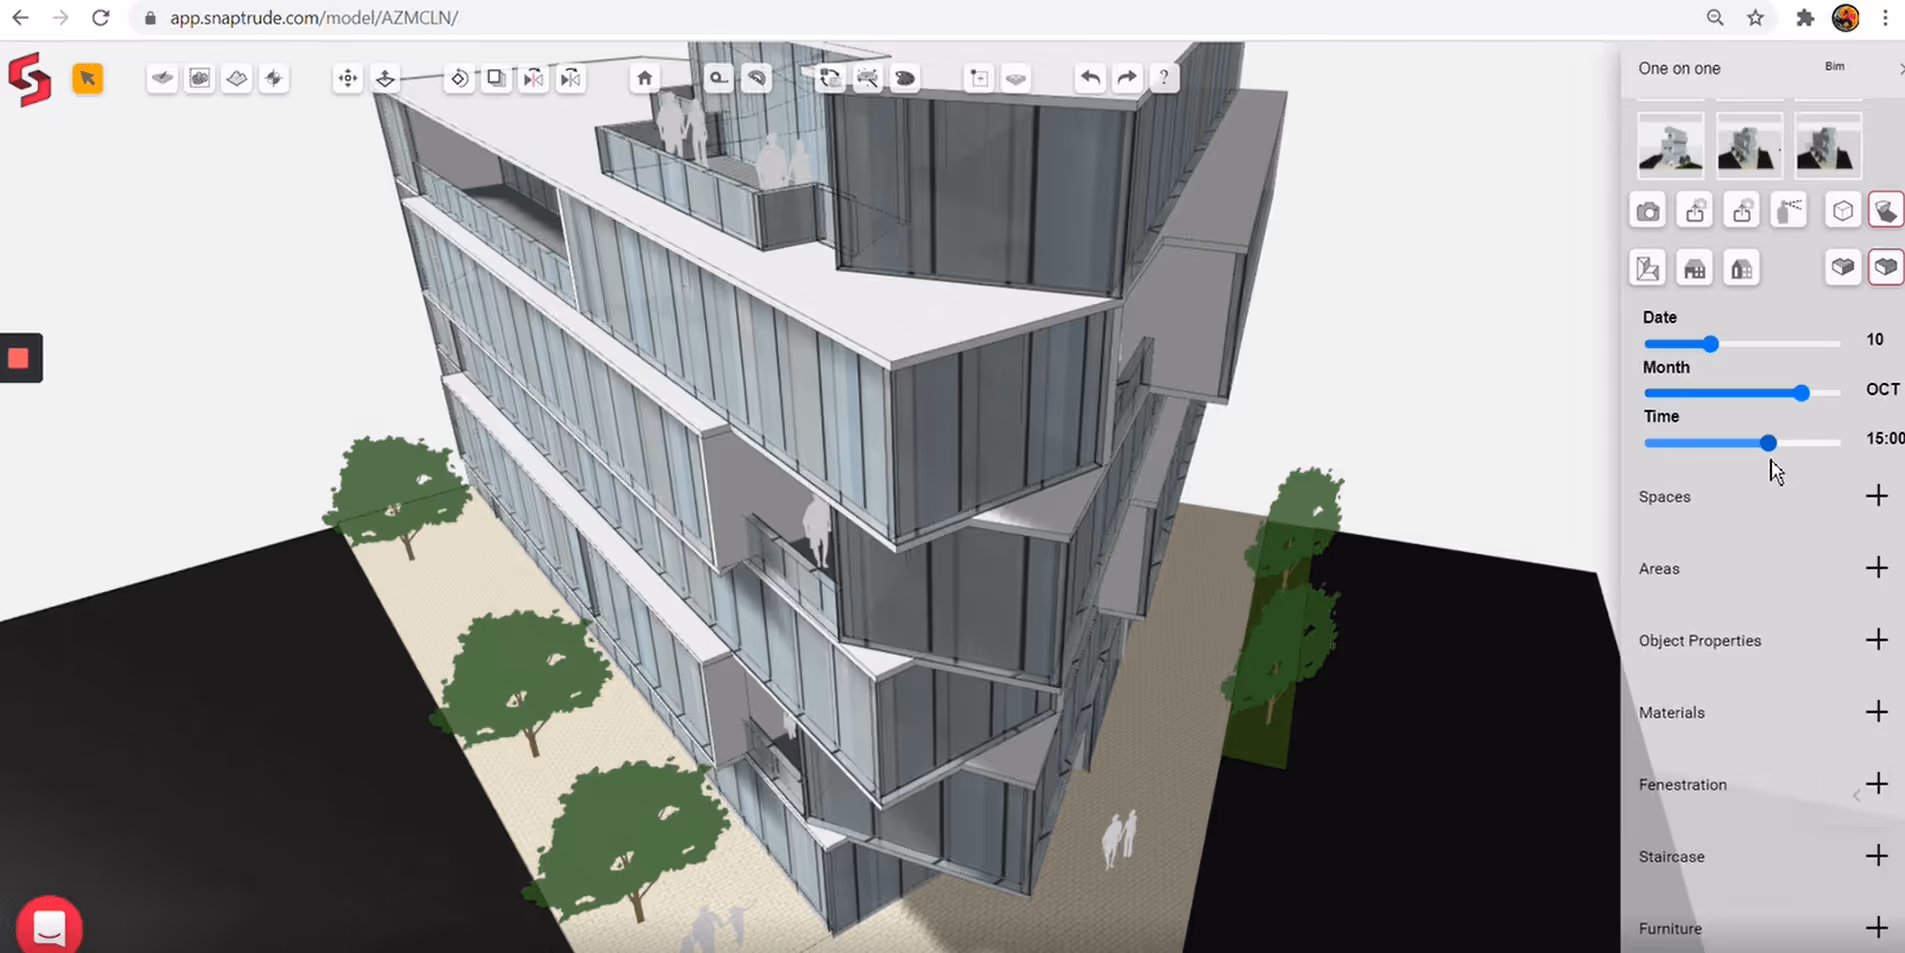
How to use the Sun & Shadow Studies’ feature on Snaptrude?
- Set your site location using the topography button, and click on the Shadows button in the Views tab.
- Shadows are turned on, and a set of toggles are displayed.
- Move the slider to set the date, month and time of study, and the shadows are accordingly displayed.
Watch in action:
How to use Solar Studies’ feature on Snaptrude
#3 Colour Overlay on Materials: Experiment More. Present Better.
Be it a wooden facade or a rustic brick wall in your design, you can add a colour overlay to any textured material applied in your model on Snaptrude. This feature can also be used for changing the colour of materials applied on imported doors, windows and furniture. With this update, you get to experiment with multiple colours on textures and can showcase more concept alternatives to your client.
How to use the Colour Overlay on Materials’ feature on Snaptrude?
- In the materials tab, click on the edit button and click on any material in the model.
- The edit tab opens up.
- Click on the colour picker and choose the colour you want.
- You can also type in the colour’s RGB value.
Watch in action:
How to put Colour Overlay on Materials on Snaptrude
#4 Angle Inputs & Snaps: Control Your Drawing Better
You know how important it is for you to achieve accuracy in your design for every line drawn. And, in different projects, you need to draft many objects, walls and lines at specific angles. Getting it right gives your structure and rooms a defined look and ensures no issues in dimensions. Adding angle inputs to objects and positioning them at a perspective with respect to other objects with the help of snap can give you the precision you require during the design and editing stage. This gives you better control over your design.
How to use the Angle Inputs & Snaps’ feature on Snaptrude?
- While drawing, use the Tab key to switch between length and angle inputs, on a desktop.
- By default, the length input is active. Press the Tab key, to activate the angle input and type in the angle you want to draw at.
- Press the Enter key to draw the line at that angle, or press the Tab key again to input the length of the line as well.
- On an iPad, simply click on the input you want to use.
- Angle snap settings can be found in the Project Properties tab.
- By default, Angle Snap is turned on, and is set to 15°. You can change the angle snap by entering your preferred value. You can also turn it off if you don’t want it.
Watch in action:
How to use Angle Inputs & Snaps on Snaptrude
Orthographic Projections
You can now view your model in orthographic projection to get clean elevations and diagram-friendly views. Click on the Orthographic button to turn the orthographic projection on and off. You can then navigate to Front and Side views to view 2D elevations.
Watch in action:
How to view Orthographic Projections on Snaptrude
Architects Needn’t Compromise
Imagine as an architect, you wish to work beautifully on a Mac system or an iPad from concept to completion. But, because some of the most popular architect design tools are not built to be compatible with iOS systems or touch-screen systems, but are still desktop-oriented, you have to compromise or install Windows on your Mac and make adjustments. Or, worse, invest money in high-end PCs for each team member, which again adds up to the cost of owning software.
We believe that when a design tool is built with features solely for architects, then architects should not have to compromise. With Snaptrude, you really don’t have to. You can access all these amazing features across devices (including Mac and iPad),from anywhere, collaborating with team members and other stakeholders in real time because Snaptrude is a cloud-based architecture design software. Especially during these uncertain Covid-19 times, there are many architects who are looking for a tool that allows them and their teams to work from home seamlessly. A collaborative design tool like Snaptrude helps to get quick review and approvals from all stakeholders. What’s more, you don’t need to add any plug-ins as it is an all-in-one tool with in-built capabilities.
“Snaptrude helps you take control of your designs to the last detail, allowing complex design possibilities with BIM level accuracy on a single platform.”
Being an architect-focused design software, we listen to your suggestions and update our features when requested, to positively impact all our architects’ work. Experience this upgraded version of Snaptrude on any device; we would love to know if you have feedback.
And, if you haven’t explored Snaptrude yet, you can take a free trial.
Disclaimer: No copyright infringement is intended. Please write to smita@snaptrude.com for any dispute.

